How to Grow Calendula in Pots: Container Garden Guide
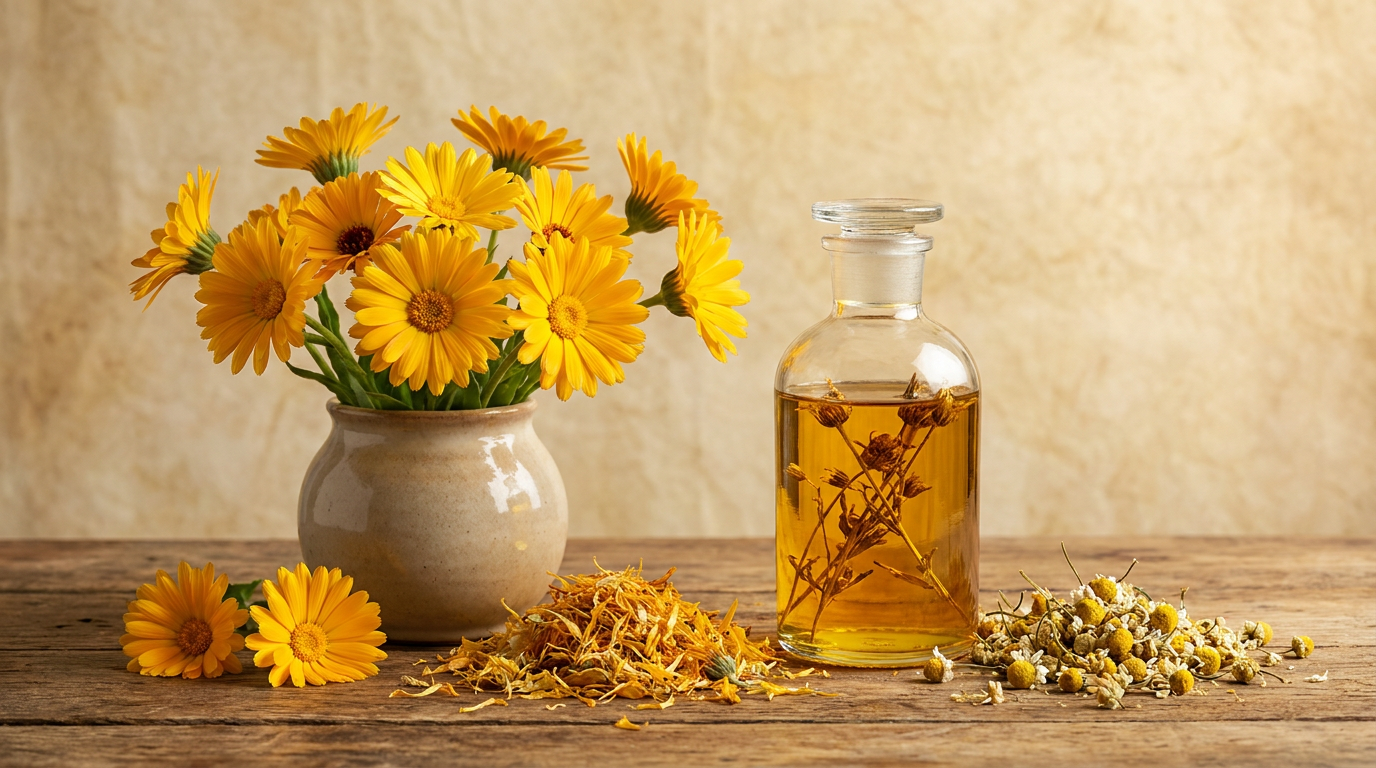
There is something deeply satisfying about stepping onto a balcony or patio and finding a pot of calendula in full bloom, its ruffled orange and gold petals catching the morning light. Calendula officinalis, sometimes called pot marigold, has been a fixture of cottage gardens for centuries, but it adapts beautifully to container life too. Whether you have a sprawling backyard or a single sunny windowsill, growing calendula in pots is one of the most forgiving ways to bring this cheerful botanical into your daily routine.
Calendula Oil
Our own small-batch calendula oil, in sizes from 0.5 oz to bulk.
From $11.99
Shop Calendula Oil →This guide walks through everything you need for successful calendula container gardening: pot selection, soil, sunlight, watering, and the small maintenance habits that keep plants blooming for months rather than weeks.
Why Grow Calendula in Containers
Calendula is naturally compact, shallow rooted, and quick to establish, which makes it an ideal candidate for pots. Unlike many flowering annuals that sulk without deep garden beds, calendula tends to thrive in confined spaces as long as its basic needs are met. Container growing also gives you control over soil quality, drainage, and placement, three factors that matter enormously for a plant valued for both its blooms and its petals.
Gardeners in apartments, rented homes, or spaces with poor native soil often find that calendula container gardening solves problems a traditional garden bed cannot. You can move pots to chase sunlight through the seasons, bring them indoors ahead of a frost, or simply rearrange your patio without disturbing a single root.
Choosing the Right Pot and Soil
Pot Size and Material
Calendula's root system is modest, so you do not need an oversized container. A pot that is at least 8 inches deep and 10 to 12 inches wide gives a single plant plenty of room to spread. For a fuller, more garden-like display, choose a wider trough or window box and space plants 8 to 10 inches apart.
| Container Type | Minimum Size | Plants per Container |
|---|---|---|
| Standard round pot | 10 in. wide, 8 in. deep | 1 |
| Window box | 24 in. long, 8 in. deep | 2 to 3 |
| Half whiskey barrel | 18 in. wide, 14 in. deep | 4 to 5 |
| Hanging basket | 12 in. diameter | 1 to 2 |
Terracotta and unglazed clay pots are popular choices because they breathe well and help prevent soggy roots, a common issue for container plants. Plastic and glazed ceramic pots retain moisture longer, which can be useful in hot, dry climates but requires closer attention to drainage. Whatever material you choose, confirm there are drainage holes in the base. Calendula tolerates many conditions, but standing water around its roots is not one of them.
Soil Mix
Calendula prefers a light, well draining potting mix rather than dense garden soil, which compacts in containers and starves roots of oxygen. A quality all purpose potting mix amended with perlite or coarse sand drains well while still holding enough moisture to sustain steady growth. Calendula is not particularly fussy about soil fertility and actually performs best in soil that is moderately rich rather than heavily fertilized, which tends to produce lush leaves at the expense of blooms.
Aim for a slightly acidic to neutral pH, somewhere between 6.0 and 7.0. Most bagged potting soils fall comfortably within this range without any adjustment needed.
Sunlight and Placement
Calendula is a full sun plant at heart, and it rewards generous light with more prolific blooming. Aim for at least six hours of direct sunlight a day. In cooler climates, a south facing patio, balcony, or windowsill works well. In hotter regions, calendula appreciates a bit of relief from the most intense afternoon sun, so an east facing spot with morning light and dappled afternoon shade can extend the bloom season and reduce stress on the plant.
If you are growing calendula indoors, place pots in your brightest window, ideally one that faces south or west. Indoor light is almost always weaker than outdoor sun, even next to a sunny window, so many indoor growers supplement with a simple grow light positioned 6 to 12 inches above the foliage for 12 to 14 hours a day. Without adequate light, indoor calendula tends to grow leggy, with long stretches of stem between leaves and fewer flowers.
Planting Calendula from Seed in Containers
Calendula grows readily from seed, and container sowing is simple enough for first time gardeners.
- Fill your container with moistened potting mix, leaving about an inch of space below the rim.
- Sow seeds about a quarter inch deep, spacing them 4 to 6 inches apart if planting several in one container.
- Cover lightly with soil and water gently with a fine mist so the seeds are not displaced.
- Keep the soil consistently moist, not soggy, until germination, which typically takes 7 to 14 days.
- Once seedlings have two or three true leaves, thin them so each plant has enough room to develop a full, bushy shape.
Calendula seeds germinate well in cool soil, so early spring sowing outdoors, or any time indoors, tends to produce strong seedlings. If you would rather skip germination altogether, nursery starts transplant into pots easily and simply need a gentle watering in after planting.
Watering and Feeding
Consistency matters more than volume when watering calendula in pots. Because container soil dries out faster than garden beds, especially in warm weather, check the top inch of soil daily during summer. When it feels dry to the touch, water thoroughly until it drains from the bottom of the pot, then let the surface dry again before the next watering. Overwatering is a more common problem than underwatering and can lead to root issues, so err on the side of a slightly drier soil rather than a constantly damp one.
Calendula is a light feeder. A balanced, diluted liquid fertilizer applied every four to six weeks during the growing season is usually sufficient. Heavy fertilizing, particularly with nitrogen rich formulas, tends to push leafy growth at the expense of flowers, so less is often more here.
A good rule for container calendula: water when the soil is dry an inch down, feed sparingly, and let the sun do the rest.
Deadheading and Ongoing Maintenance
Deadheading, or removing spent blooms, is the single most effective way to keep calendula flowering for months rather than weeks. Once a flower fades, pinch or snip the stem back to just above the next set of leaves. This simple habit signals the plant to keep producing new buds instead of channeling energy into seed production.
Check plants every few days for spent blooms, yellowing leaves, or overcrowded stems, and trim as needed. A light pruning every few weeks also encourages a fuller, bushier shape, which matters even more in a container where you want to maximize the visual impact of a compact space.
Common Pests and Problems
Container grown calendula is relatively low maintenance, but a few issues do show up from time to time.
| Issue | Likely Cause | What Helps |
|---|---|---|
| Aphids clustering on stems | Soft new growth, warm weather | Spray off with water; introduce beneficial insects |
| Powdery white coating on leaves | Poor air circulation, high humidity | Space plants apart; water at soil level, not on foliage |
| Leggy, sparse growth | Insufficient light | Move to a brighter spot or add a grow light |
| Yellowing lower leaves | Overwatering or poor drainage | Let soil dry between waterings; confirm drainage holes are clear |
| Few or no blooms | Excess nitrogen fertilizer | Switch to a balanced, lower nitrogen feed |
Most of these issues resolve quickly once the underlying condition, usually light, water, or airflow, is corrected. Calendula is generally considered an easygoing plant, which is part of why it remains a favorite for container gardening beginners.
Growing Calendula Indoors Year Round
Calendula indoors is entirely possible, though it takes a bit more attention than an outdoor container on a sunny patio. Beyond bright light, indoor plants benefit from good air circulation, which you can encourage with an occasional oscillating fan on a low setting. This mimics the outdoor breeze that keeps foliage dry and helps prevent the powdery growth mentioned above.
Indoor humidity and heating can dry out potting soil faster than expected, particularly in winter, so check moisture levels more frequently than you might with an outdoor pot. Rotate the container every few days so all sides of the plant receive even light, which keeps growth balanced rather than leaning toward the window.
With steady light and attentive watering, an indoor calendula plant can bloom for several months, bringing a bit of golden color to a kitchen windowsill or home office through seasons when outdoor gardens have gone dormant.
Harvesting Calendula Petals
Many container gardeners grow calendula specifically to harvest its petals for drying, oil infusions, and homemade skincare projects. Petals are best picked in the late morning, once the dew has dried but before the heat of the day, when their natural oils are thought to be at their most concentrated.
Gently pull petals from fully open blooms, or snip the whole flower head and separate petals once indoors. Spread them in a single layer on a screen or paper towel in a warm, dry, well ventilated spot, out of direct sunlight, and allow them to dry fully over several days. Store dried petals in an airtight glass jar away from light and heat, where they will keep their color and character for many months.
Regular harvesting, much like deadheading, also encourages the plant to keep producing new flowers, so a container grown for petals often ends up being one of the most prolific bloomers in the garden.
Final Thoughts on Container Calendula
Calendula rewards a modest amount of attention with an outsized display of color and a steady supply of petals for craft and garden projects alike. Choose a well draining pot, give it plenty of sun, keep watering consistent, and deadhead regularly, and a single container can bloom from late spring well into autumn. For gardeners short on space or working with tricky soil, calendula container gardening remains one of the simplest ways to bring this classic botanical into daily life, whether on a sunlit windowsill or a crowded city balcony.