DIY Calendula Shaving Oil Recipe for Razor Burn Prevention
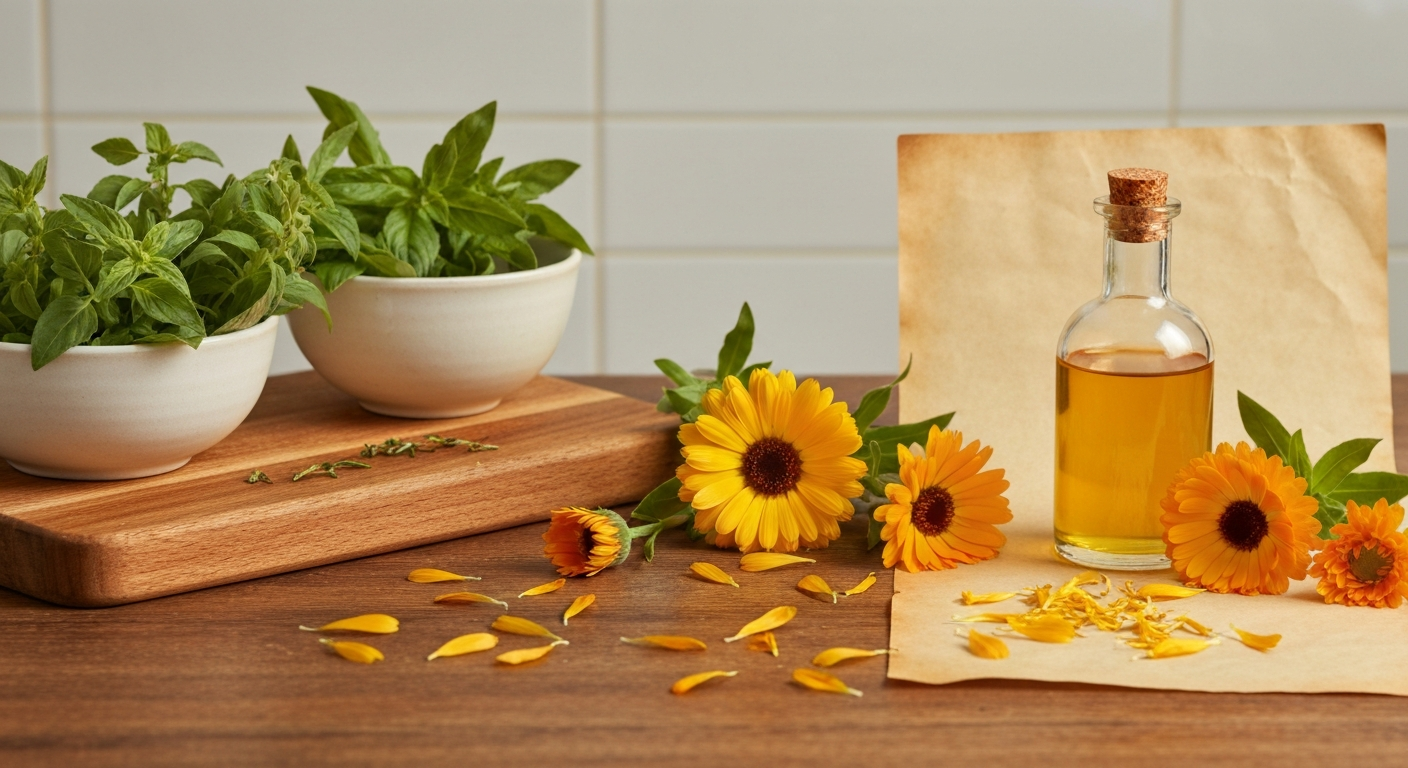
For centuries, calendula has been treasured for its gentle, skin-loving properties. Today, this golden flower continues to earn appreciation among those seeking natural alternatives for their grooming routines. Creating your own calendula shaving oil at home allows you to harness these traditional benefits while customizing a blend that suits your skin's unique needs.
Unlike commercial shaving creams that often contain harsh chemicals and artificial fragrances, a homemade DIY shaving oil offers a pure, simple approach to achieving a comfortable shave. Calendula-infused oils have been traditionally used to support skin comfort, making them a popular choice for those who experience post-shave sensitivity.
Understanding Calendula's Role in Shaving Care
Calendula (Calendula officinalis), also known as pot marigold, has a rich history in traditional skincare practices. The vibrant orange and yellow petals contain naturally occurring compounds that have made this botanical a staple in folk medicine for generations.
When incorporated into shaving oils, calendula may help promote a sense of comfort and smoothness during and after shaving. Some people report that calendula-infused products support their skin's natural recovery process following the inevitable minor irritation that can occur with razor use.
Traditional herbalists have long valued calendula for its gentle nature, making it suitable for even sensitive skin types. While individual experiences may vary, anecdotal evidence suggests that calendula may help maintain skin's natural moisture balance—a crucial factor in achieving comfortable shaves.
Essential Ingredients for Your Calendula Shaving Oil
Creating an effective calendula shaving oil requires careful selection of base ingredients. Each component serves a specific purpose in delivering a smooth, comfortable shaving experience.
Primary Base Oils
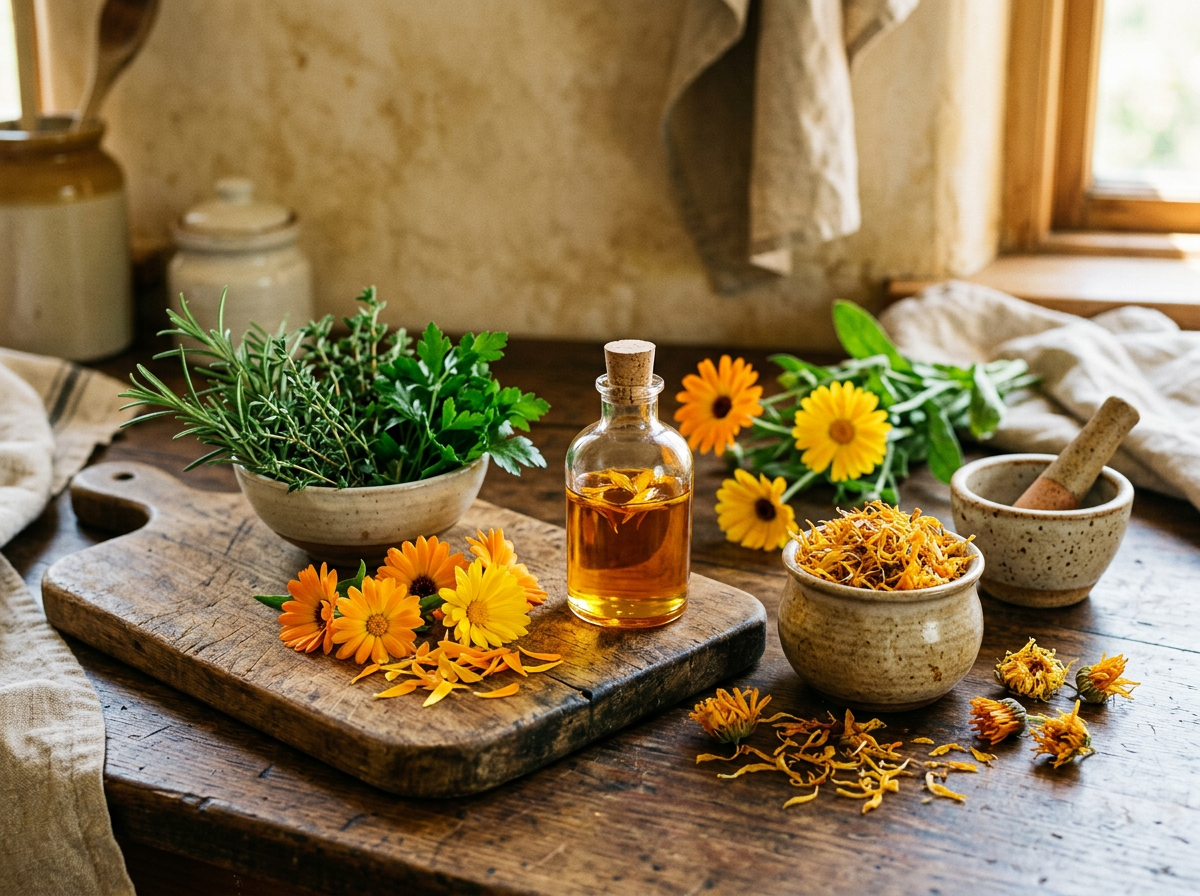
Calendula-infused Oil (2 tablespoons): This serves as your star ingredient. You can purchase pre-made calendula oil or create your own through oil infusion methods. Calendula-infused oils typically use carriers like olive, sunflower, or safflower oil.
Jojoba Oil (1 tablespoon): Technically a liquid wax, jojoba closely mimics skin's natural sebum. Its lightweight texture and long shelf life make it an excellent addition to any DIY shaving oil blend. Jojoba may help provide slip for smooth razor gliding.
Sweet Almond Oil (1 tablespoon): Rich in vitamins A and E, sweet almond oil offers moisturizing properties that may help support skin comfort during shaving. Its mild nature makes it suitable for most skin types.
Optional Enhancement Ingredients
Vitamin E Oil (5-10 drops): Acts as a natural preservative while potentially supporting skin's natural protective barrier. Use sparingly, as too much can feel heavy on the skin.
Essential Oils (2-3 drops total): For scent and potential additional skin-supportive properties. Consider lavender for its traditionally calming associations, or tea tree for those who prefer a clean, herbal aroma. Always research proper dilution ratios and potential sensitivities.
SAFETY WARNING: Essential oils must be properly diluted. The recommended dilution for leave-on products is 0.5-1% for facial use. Always perform a patch test 24 hours before first use. Pregnant women, nursing mothers, and individuals with sensitive skin should consult a healthcare provider before using essential oils.
Step-by-Step DIY Calendula Shaving Oil Recipe
This simple recipe yields approximately 4 ounces of finished product—enough for several weeks of regular use.
Equipment Needed
- Small glass mixing bowl
- Glass measuring spoons
- Small funnel (optional but helpful)
- 4 oz amber or cobalt blue glass bottle
- Labels for dating and identification
Preparation Instructions
Step 1: Prepare Your Workspace
Ensure all equipment is clean and dry. Glass containers are preferable to plastic, as they don't interact with the oils and help preserve the blend's integrity.
Step 2: Combine Base Oils
In your mixing bowl, gently combine the calendula-infused oil, jojoba oil, and sweet almond oil. Stir slowly with a clean glass rod or spoon to avoid incorporating air bubbles.
Step 3: Add Enhancement Ingredients
If using vitamin E oil, add it now and mix gently. If incorporating essential oils, add them drop by drop, mixing between each addition to ensure even distribution.
Step 4: Test and Adjust
Before bottling, test a small amount on the back of your hand. The consistency should feel smooth and lightweight, not greasy or heavy. Adjust ratios if needed.
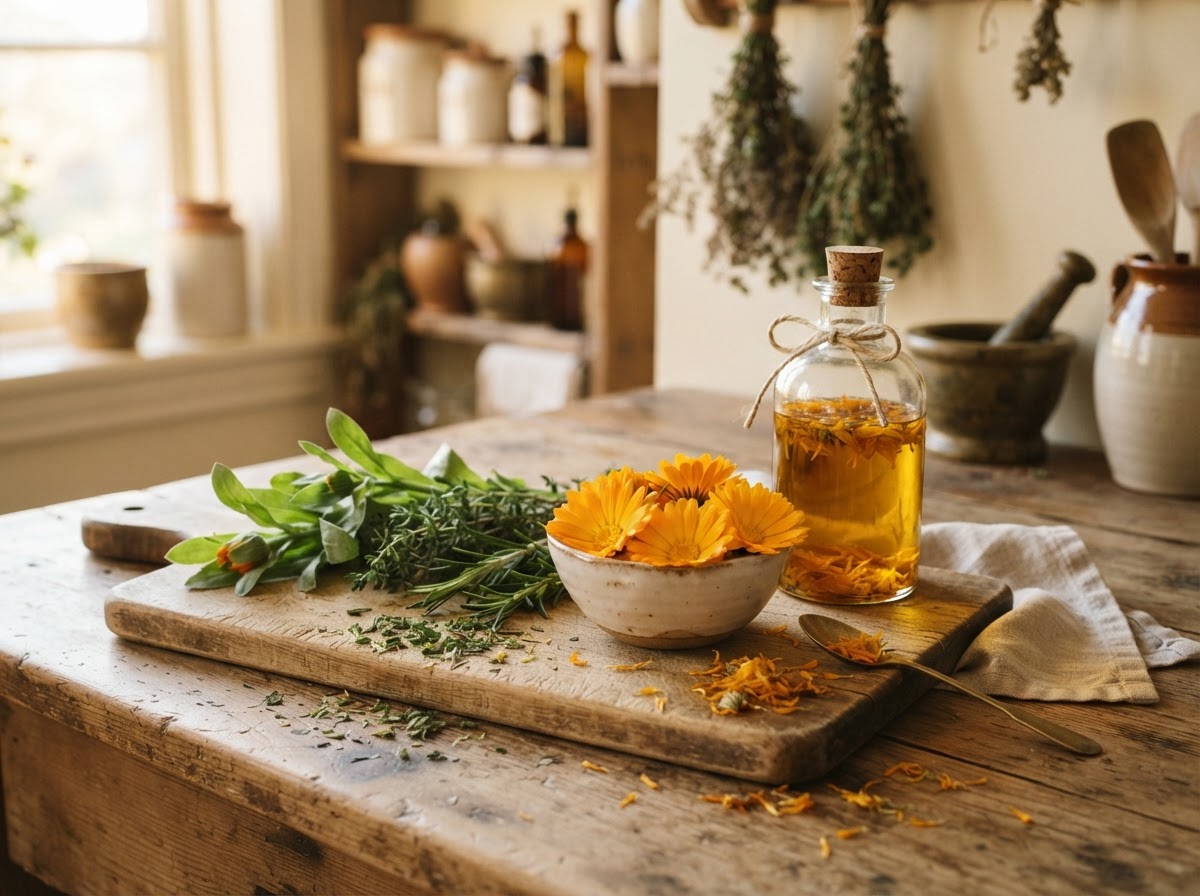
Step 5: Bottle and Label
Using a funnel, transfer your finished shaving oil to the storage bottle. Label with the creation date and ingredients list for future reference.
Application Techniques for Best Results
Proper application is key to maximizing your calendula shaving oil's potential benefits. Unlike traditional shaving creams, oils require a slightly different approach.
Pre-Shave Preparation
Begin with clean, damp skin. The moisture helps the oil spread more evenly and may enhance its skin-supportive properties. Some people find that applying the oil to slightly wet skin creates an optimal balance of slip and protection.
Dispense 4-6 drops of your calendula shaving oil into your palm—a little goes a long way. Rub your hands together to warm the oil slightly, then apply in gentle, circular motions to the area you plan to shave.
Shaving Technique
Allow the oil to sit on your skin for 30-60 seconds before beginning to shave. This gives the calendula and carrier oils time to create a protective barrier. Use light, gentle strokes with your razor, allowing the oil to provide natural lubrication.
You may notice that your razor glides more smoothly than with traditional products. However, rinse your blade frequently, as oil can build up and reduce effectiveness.
Post-Shave Care
After shaving, gently pat your skin dry rather than rubbing vigorously. A thin layer of the calendula oil blend may remain on your skin, potentially continuing to support comfort as your skin recovers from shaving.
Some people prefer to rinse lightly with cool water and apply a small amount of additional calendula oil as a post-shave treatment, though this is entirely optional based on personal preference and skin type.
Storage and Shelf Life Considerations
Proper storage ensures your DIY shaving oil maintains its quality and potential benefits over time. Store your finished product in a cool, dark place away from direct sunlight and heat sources.
The amber or cobalt glass bottle helps protect the oils from light degradation. With proper storage, your calendula shaving oil should maintain its quality for 6-12 months, depending on the shelf life of your base ingredients.
Always check for any changes in smell, color, or texture before use. If you notice any rancid odors or unusual changes, discontinue use and create a fresh batch.
Customization Options and Variations
One of the greatest advantages of creating your own calendula shaving oil is the ability to customize it for your specific needs and preferences.
For Dry Skin
Increase the percentage of sweet almond oil or consider substituting avocado oil, which is traditionally valued for its rich, nourishing properties. Some people with very dry skin find that adding a small amount of rosehip seed oil supports their skin's comfort.
For Oily Skin
Increase the jojoba oil ratio and consider adding a small amount of grapeseed oil, which has a lighter feel. Hazelnut oil is another option that some people with oily skin find agreeable.
For Sensitive Skin
Keep the blend simple with just calendula oil and jojoba oil. Avoid essential oils entirely, as they may cause irritation for those with highly sensitive skin.
Troubleshooting Common Issues
Even experienced DIY enthusiasts sometimes encounter challenges when creating their own shaving products. Here are solutions to common issues:
Oil Feels Too Heavy: Increase the proportion of jojoba oil or reduce the overall amount used during application. Remember that a little calendula shaving oil goes much further than traditional creams.
Insufficient Slip: Ensure your skin is adequately damp before application. You might also experiment with adding a small amount of fractionated coconut oil for enhanced gliding properties.
Skin Reaction: Discontinue use immediately and perform patch tests on individual ingredients to identify the problematic component. Consult a dermatologist if reactions persist.
Safety Precautions and Important Disclaimers
IMPORTANT SAFETY INFORMATION:
- Always perform a patch test 24-48 hours before using any new product on larger areas of skin
- Discontinue use if any irritation, redness, or discomfort occurs
- This DIY recipe is for educational purposes and should not replace medical treatment for serious skin conditions
- Pregnant and nursing women should consult healthcare providers before using essential oils
- Keep finished products away from children and pets
- If you have allergies to any ingredients, seek alternatives or consult a healthcare professional
While calendula has been traditionally used in skincare for generations, individual responses can vary significantly. This DIY shaving oil represents a traditional approach to grooming care, not a medical treatment.
Conclusion: Embracing Natural Grooming Solutions
Creating your own calendula shaving oil offers an opportunity to connect with traditional botanical wisdom while taking control of what touches your skin. This simple recipe provides a foundation for experimentation, allowing you to develop a personalized grooming solution that aligns with your values and preferences.
The gentle nature of calendula, combined with carefully chosen carrier oils, may help transform your daily shaving routine into a more comfortable experience. Remember that natural doesn't always mean immediate—give your skin time to adjust to new products, and be patient as you fine-tune the recipe to your liking.
Whether you're seeking to reduce dependence on commercial products, accommodate sensitive skin, or simply enjoy the satisfaction of creating your own grooming essentials, this calendula shaving oil recipe provides a solid starting point for your DIY journey.
FINAL REMINDER: This information is provided for educational purposes only and is not intended to diagnose, treat, cure, or prevent any disease or medical condition. Always consult with a qualified healthcare provider regarding any skin concerns or before making significant changes to your grooming routine.